Email Template
The Email Template settings in the admin portal allow administrators to upload and manage customized email templates for different events. These templates ensure consistent and professional communication with users, enabling automated and event-triggered emails across the system.
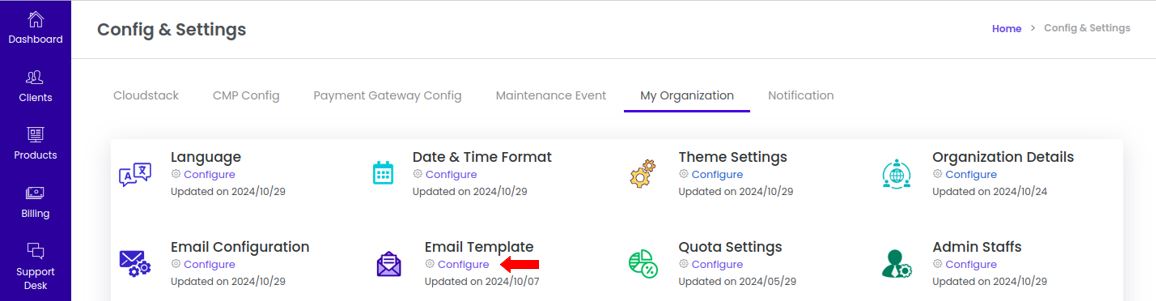
1. Navigation to Email Template Feature :
-
Login into the admin portal.
-
Navigate to the Config section by clicking on the Config icon in the portal menu.
-
Under My Organization section, click on the Email Template configuration link.
2. Configure the Email Template :
-
Choose the language in which the email template will be created or uploaded. This allows the system to send emails in the selected language based on the recipient's language preference.
-
Select the event for which this email template will be used. Events could include actions like user registration, password reset, subscription updates, payment confirmations, or maintenance notifications.
-
Upload the pre-designed HTML email template for the event. Ensure that the template aligns with your brand guidelines and includes placeholders for dynamic contents.
-
Enter the email subject line that will appear in the recipient's inbox. Example: "Your Account Has Been Created!" or "Payment Confirmation Receipt."
-
Use the toggle button to enable or disable the email status. When its enabled, the system will send this email when the associated event is triggered. When its disabled, No email will be sent for the selected event.
3. Save the Changes :
- Click the Update button to save the template.
- After saving, a success message will be displayed, "Email template uploaded successfully."