Quota Settings
The Email Template configuration in the admin portal allows organizations to streamline email communications by setting up and managing templates for various system-triggered events. With features like language selection, customizable templates, and event-specific triggers, this tool enhances user engagement and ensures consistent communication across the admin and user portals.
1. Navigation to Quota Settings Feature :
-
Login into the admin portal.
-
Navigate to the Config section by clicking on the Config icon in the portal menu.
-
Under My Organization section, click on the Quota Settings configuration link.

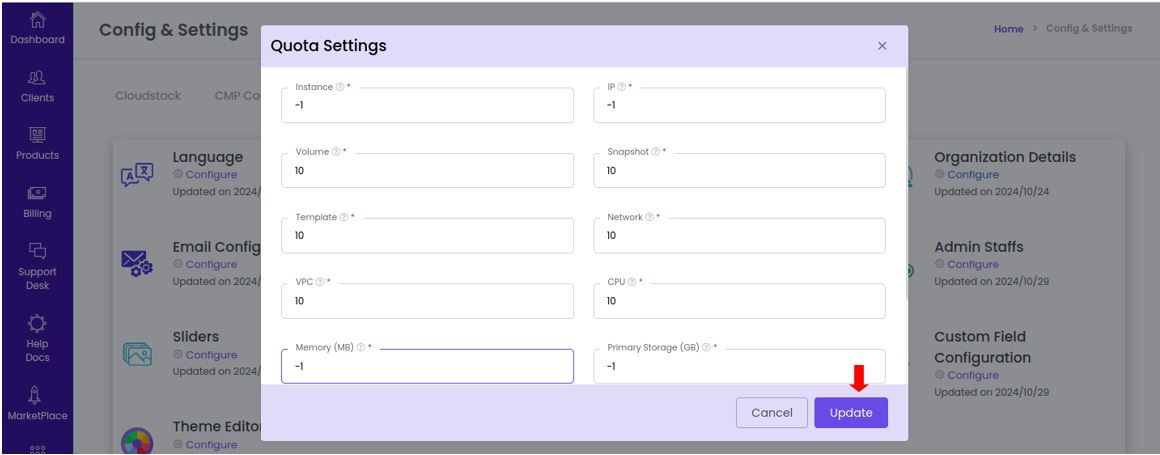
2. Configure the Quota Limits :
-
Enter the limit for each available resource (e.g., compute instances, storage, network bandwidth, etc.).
-
The quota values act as thresholds for how much of each resource users can utilize.
-
Enter the value -1 if you want to allow unlimited usage of a resource. Example: If storage quota is set to
-1, users can create or use unlimited storage.
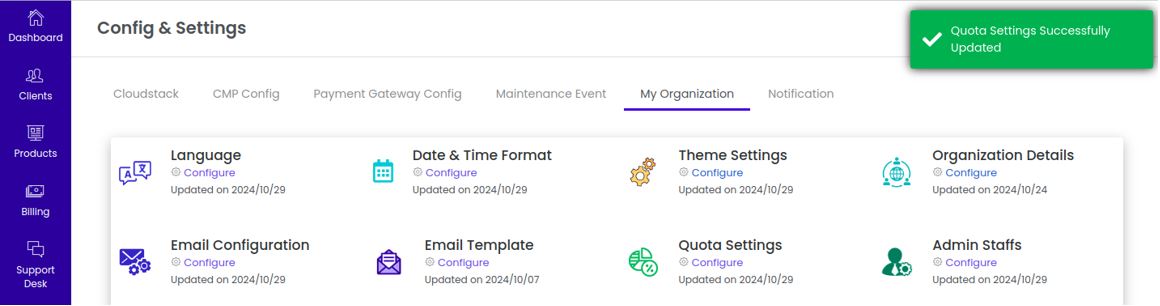
3. Save the changes :
- Click the Update button to save the changes.
- After saving, a success message will be displayed, "Quota settings updated successfully."
4. Effect in User Portal :
- Navigate to User portal > Company > Quota Limit
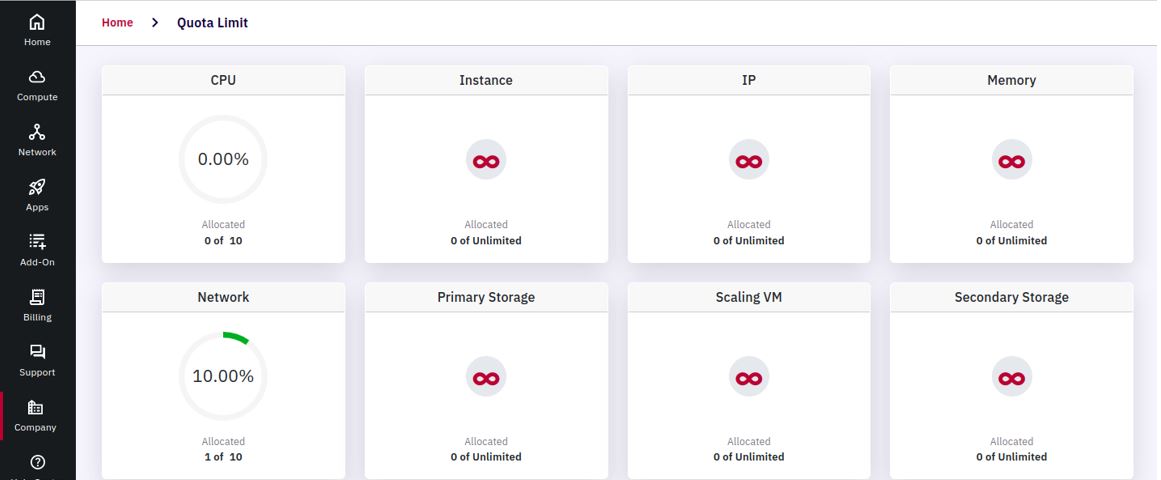
- Here, users can see the total quota assigned for each resource, current usage of the assigned quota and remaining quota available.