Help Center Configuration
Helpcenter
The Help Center is an essential feature designed to provide customers and users with self-service support by addressing their questions and resolving their issues efficiently. It serves as a repository of useful resources, such as FAQs, guides, tutorials, and support articles, to help users quickly find answers to common queries. A well-organized and searchable Help Center can enhance user experience by reducing dependency on direct customer support.
Purpose of the Help Center
-
Answer Common Queries: Provide users with solutions to frequently asked questions without requiring them to contact support.
-
Streamline Support: Minimize the workload on customer support teams by empowering users with self-help tools.
-
Improve User Satisfaction: Offer a seamless and quick resolution to issues, leading to a positive user experience.
-
Build Trust: Demonstrate commitment to helping users by making information readily available and accessible.
Help Center Category
1. Navigation to Help center :
-
Login into Admin portal.
-
Click on the Help icon from the portal menu.
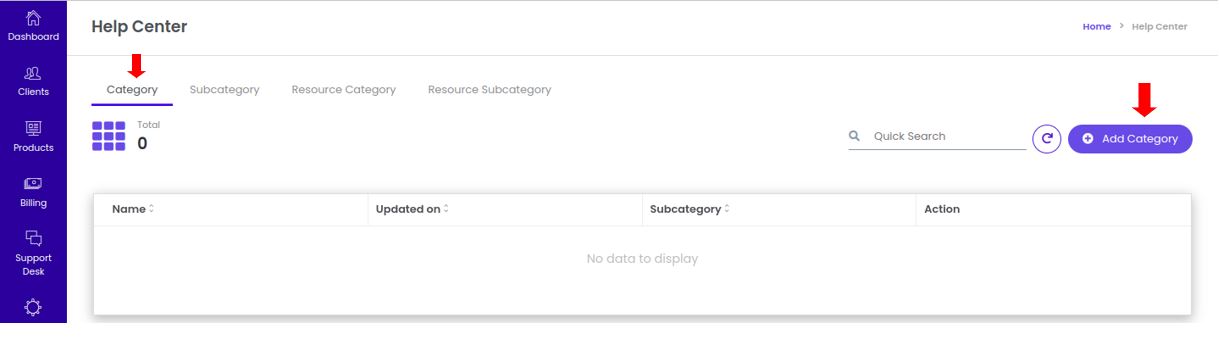
2. Adding category Section :
- Click the Add category button after selecting the category tab.
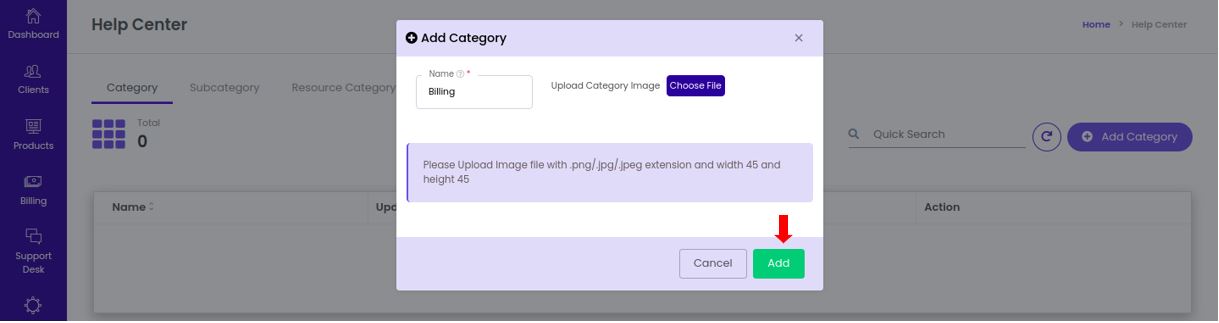
-
Then enter a descriptive and concise name for the category. For example, Getting Started, Billing & Payments, or Troubleshooting.
-
Upload an image that visually represents the category. Ensure it meets the size and file format requirements.
3. Save the changes :
- Click the Add button to save the new category.
- A confirmation message will appear, such as "Help Center Category successfully created."
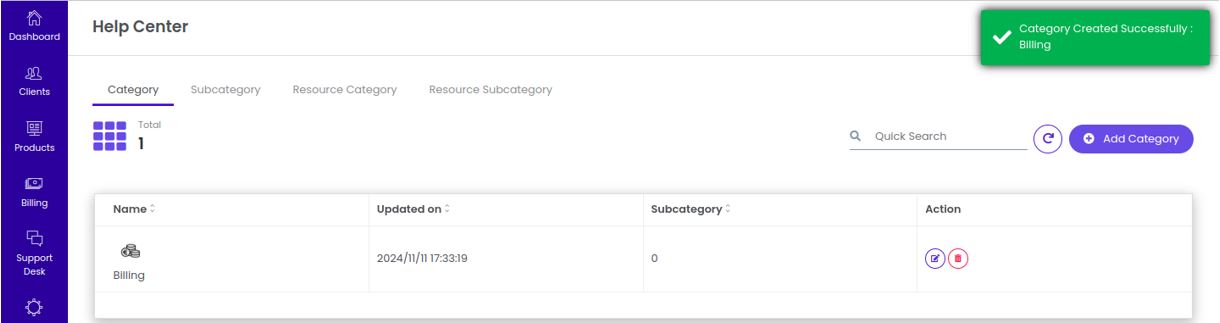
4. Effect in User Portal :
- Once the category is added, it will automatically appear in the Help Center section of the user portal. Users can navigate to this section to view all the available categories and access relevant support articles under each category.

5. Edit Help Center Category :
- Navigate to Admin portal > Help > Category > Select the Category > Action > Edit
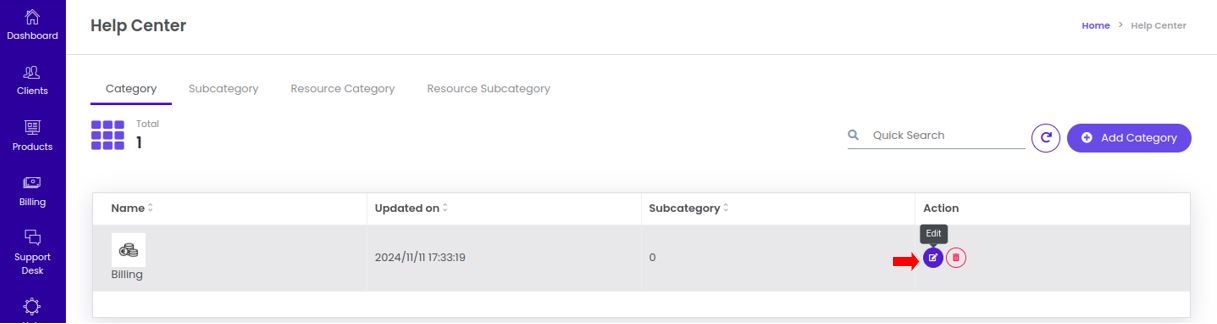
-
Update the category name or replace the image as required.
-
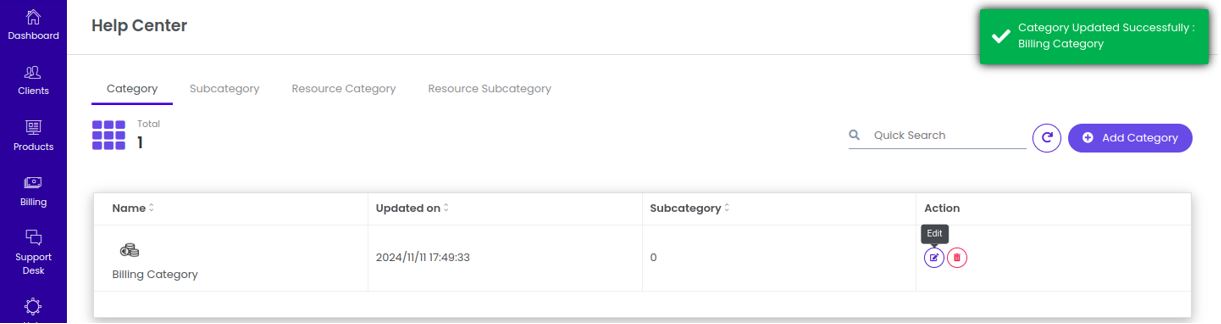
Click the Update button.
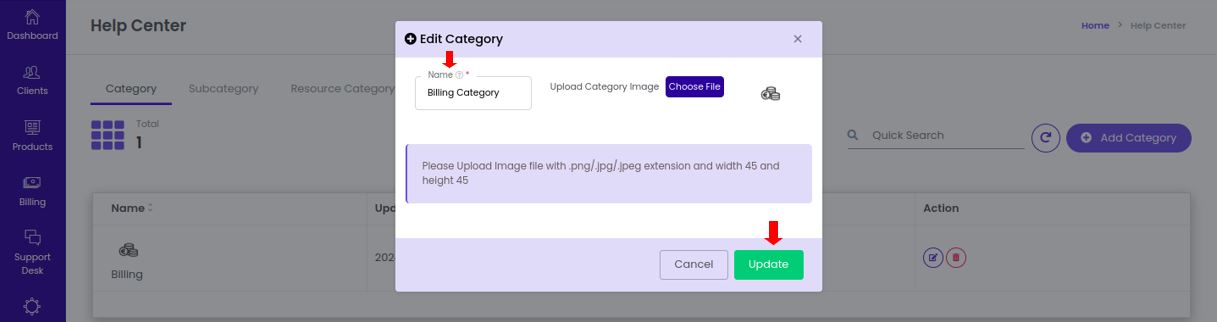
- A confirmation message will appear, such as "Selected category updated successfully."
6. Delete Help Center Category :
- Navigate to Admin portal > Help > Category > Select the Category > Action > Delete
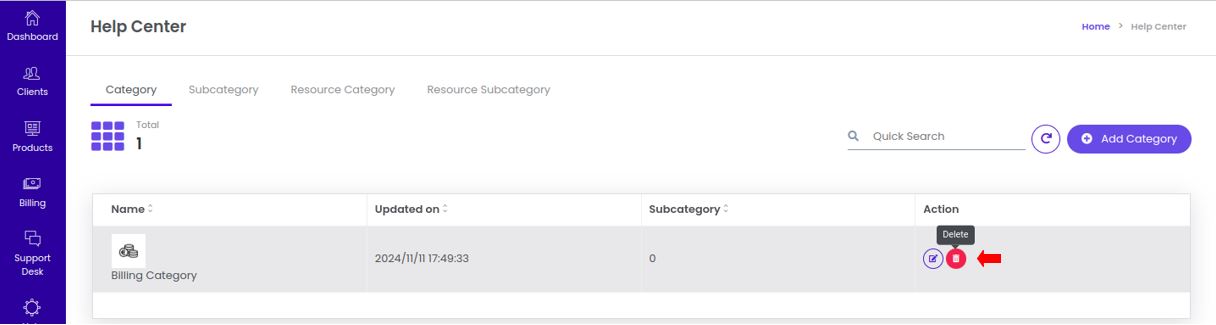
- A confirmation dialog will appear. Click the Delete button to confirm.

- A confirmation message will appear, such as "Selected Help Center category deleted successfully."
Help Center Subcategory
Help Center Subcategories allow administrators to further organize content within a specific category. This structure helps users navigate more easily to find relevant information in the user portal. Subcategories act as a way to break down large topics into smaller, more focused sections for better accessibility and usability.
1. Navigation to Help center :
-
Login into Admin portal.
-
Click on the Help icon from the portal menu.
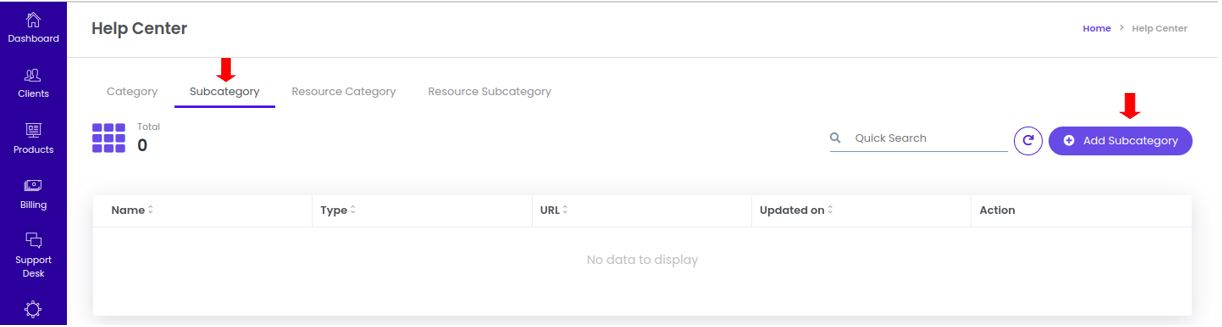
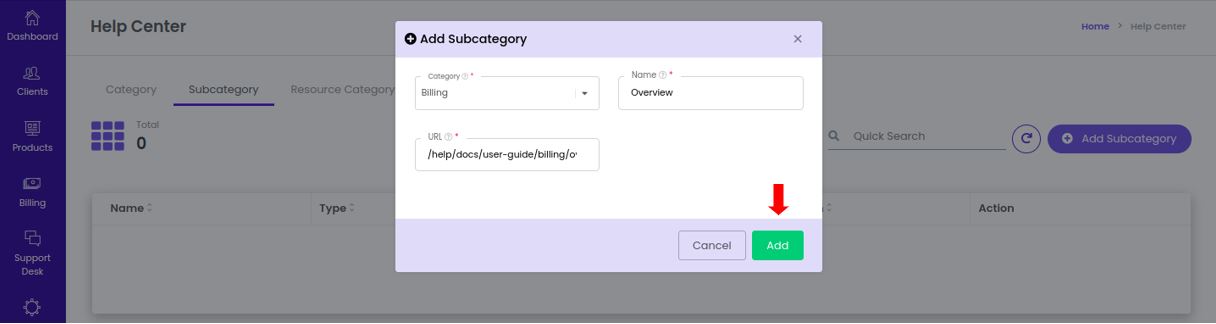
2. Adding sub-category Section :
- Click the Add subcategory button after selecting the Subcategory tab.
-
Choose the category under which the subcategory will be added.
-
Provide a concise and descriptive name for the subcategory. Example: "Billing Disputes," "Troubleshooting FAQs," etc.
-
Add a URL that will direct users to specific resources or guides within the subcategory. Example:
/help/account/reset-password
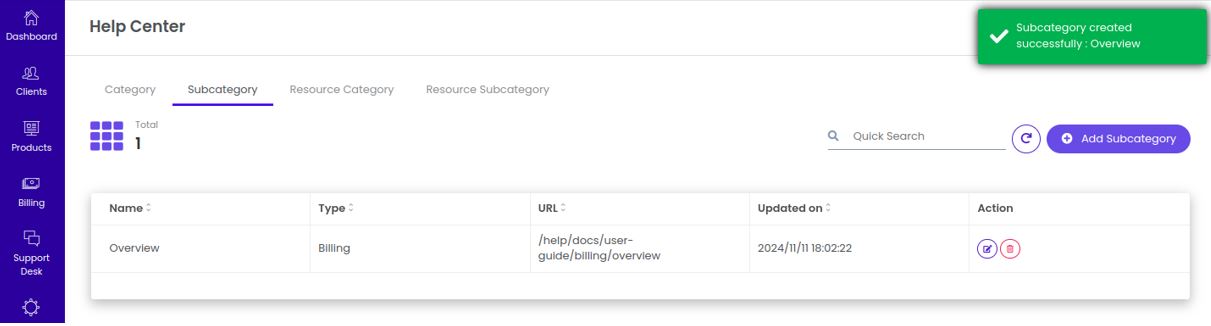
3. Save the changes :
- Click the Add button to save the subcategory.
- A confirmation message will appear, such as "Help Center Subcategory successfully created."
4. Effect in User Portal :
- Navigate to User portal > Help Center > Select Category.
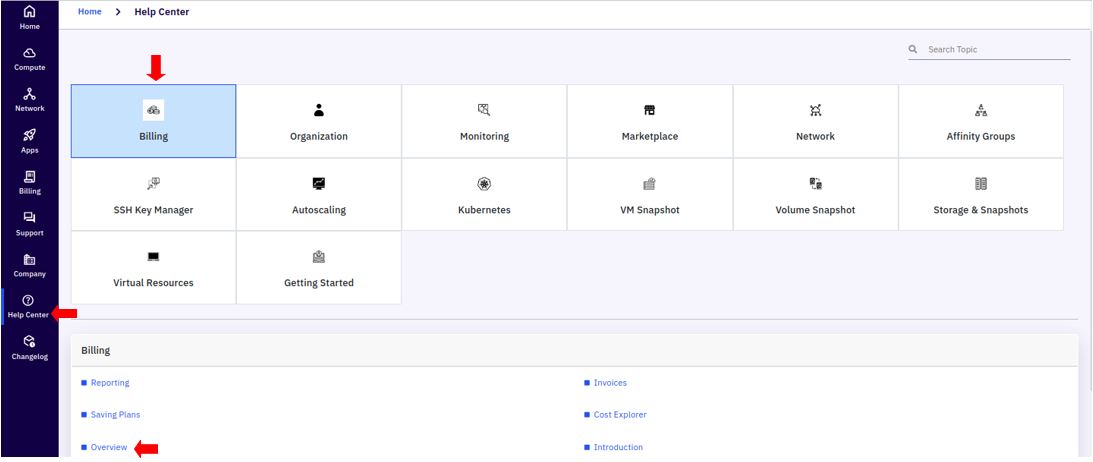
- The list of subcategories under the selected category will be displayed, enabling users to locate specific topics or articles.
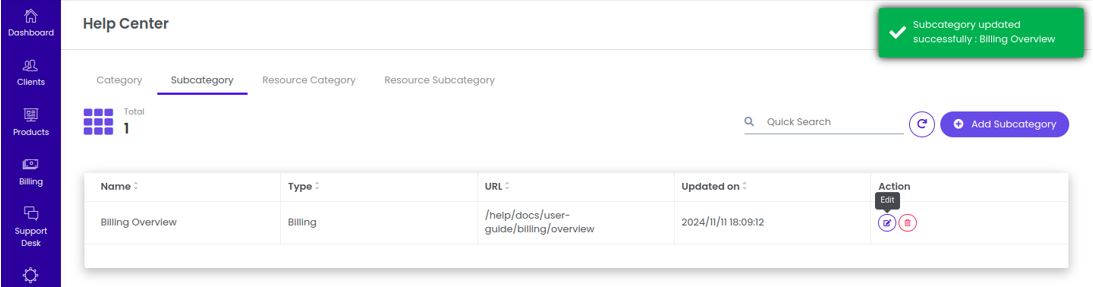
5. Edit Help Center Subcategory :
- Navigate to Admin portal > Subcategory > Select the Subcategory > Action > Edit .
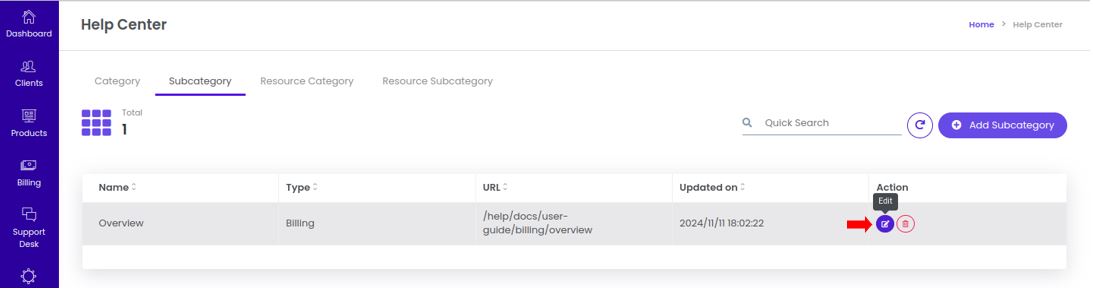
-
Update the Subcategory Name or Subcategory URL as required.
-
Click the Update button to apply the edits.
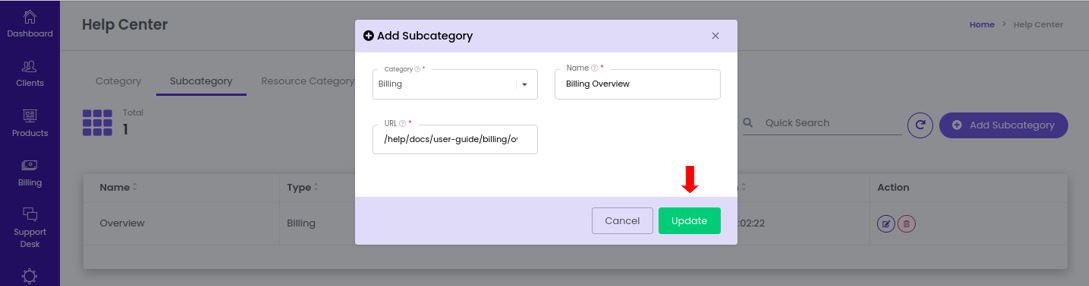
- A confirmation message will appear, such as "Selected Subcategory updated successfully."
5. Delete Help Center Subcategory :
- Navigate to Admin portal > Subcategory > Select the Subcategory > Action > Delete .
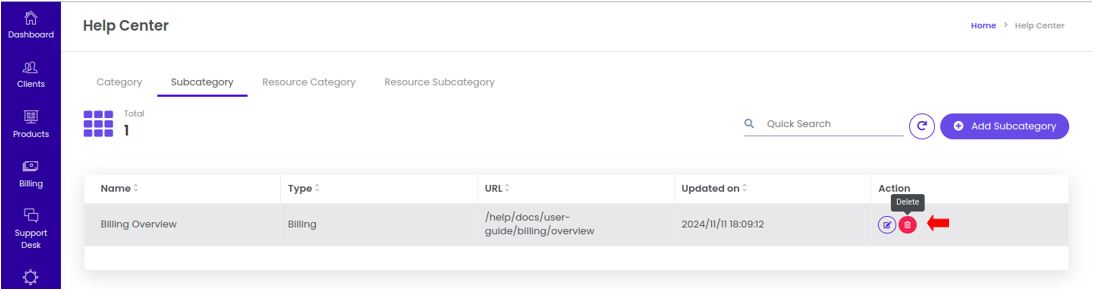
- A confirmation dialog will appear. Click the Delete button to proceed.

- A confirmation message will appear, such as "Selected Help Center Subcategory deleted successfully."
Help Center Resource Category
The Help Center Resource Category allows administrators to organize and manage resources within the Help Center. These categories serve as a structure to classify and display information effectively, ensuring that users can find the answers they need quickly and efficiently. Resource categories can represent a group of resources or topics presented in a LIST or MENU format, depending on how they need to be displayed in the user portal.
1. Navigation to Help center :
-
Login into Admin portal.
-
Click on the Help icon from the portal menu.
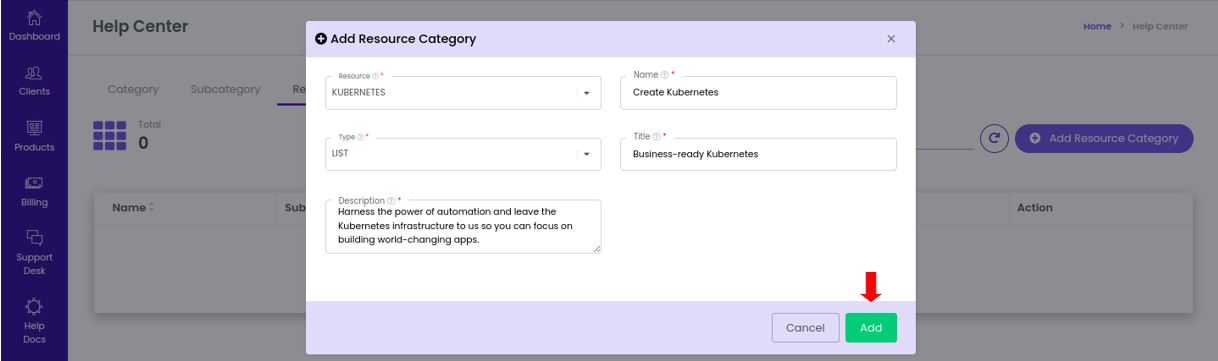
2. Adding Resource Category Section :
- Click the Add Resource category button after selecting the Resource Subcategory tab.
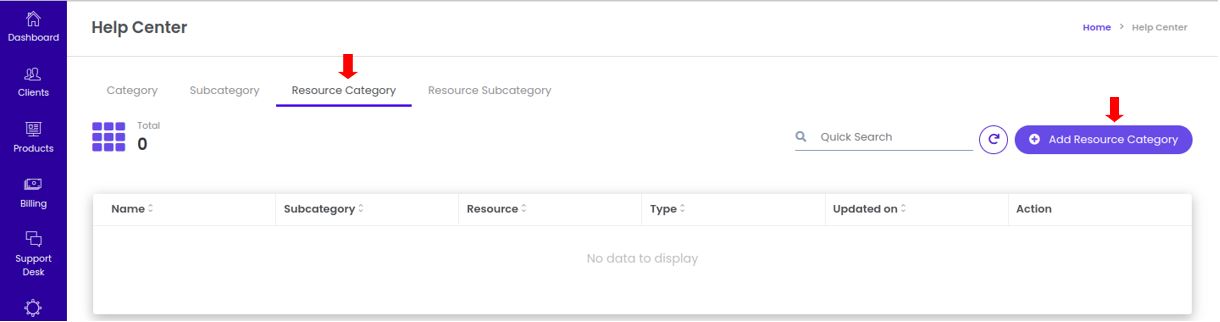
-
From the dropdown menu, select the Resource to which this category will belong.
-
Provide a meaningful name for the category to represent the type of resources it contains. Example: "FAQs," "Troubleshooting," or "Installation Guides."
-
Choose either LIST or MENU
-
LIST Displays resources in a simple list format for quick scanning.
-
MENU: Displays resources in a structured menu format for detailed navigation.
-
-
Enter a short title for the resource category, which will appear as a heading in the Help Center.
-
Provide a brief description of the category to give users a clear idea of what kind of resources they can expect within this category.
3. Save the changes :
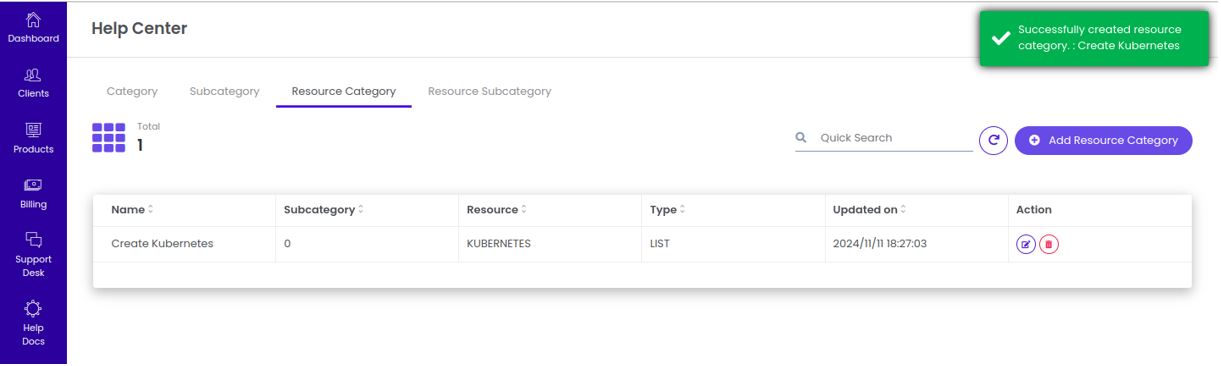
- Click the Add button to create the resource category.
- A confirmation message will appear, such as "Help Center Resource Category created successfully."
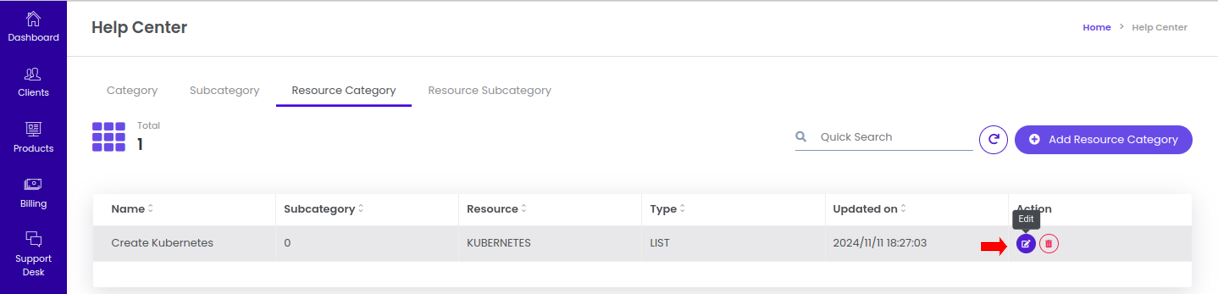
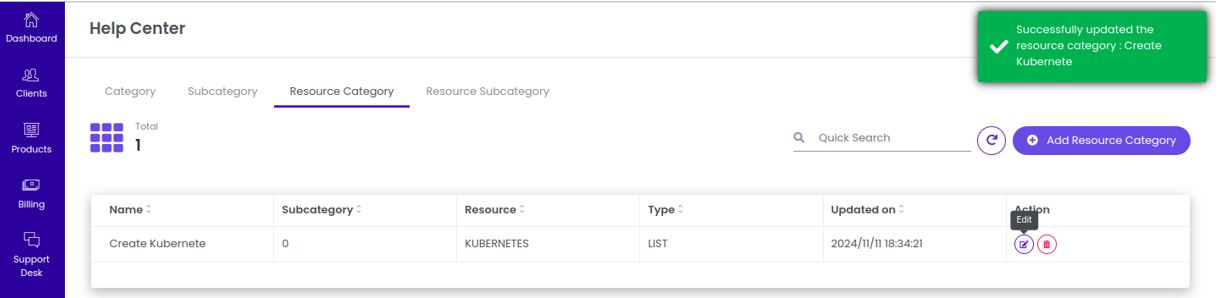
4. Edit Help Center Resource Category :
- Navigate to Admin Portal > Help > Resource Category > Select the Resource Category > Action > Edit .
-
Make changes on necessary fields.
-
Click the Update button to apply the edits.
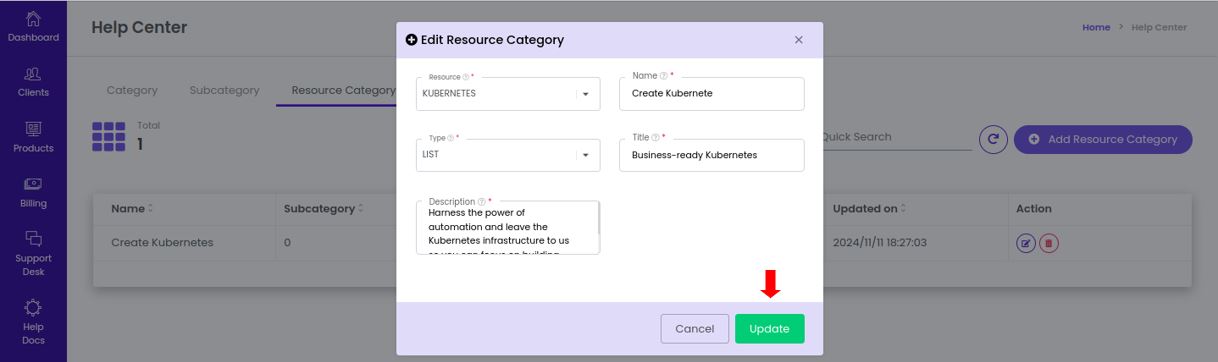
- A confirmation message will appear, such as "Selected Resource Category updated successfully."
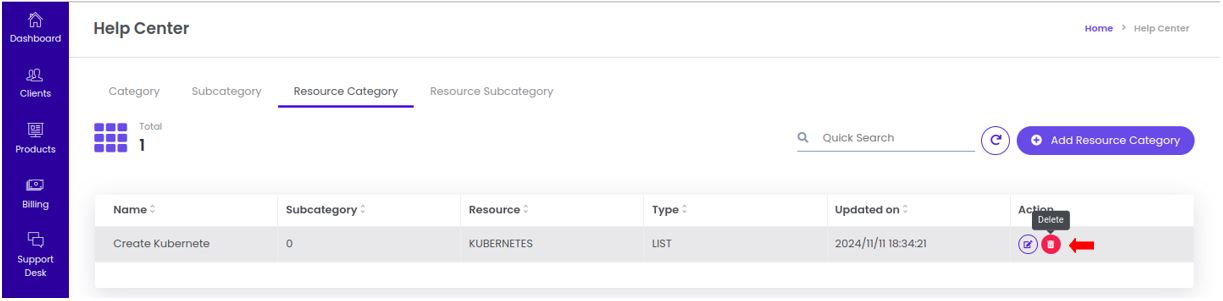
5. Delete Help Center Resource Category :
- Navigate to Admin Portal > Help > Resource Category > Select the Resource Category > Action > Delete
- A confirmation dialog will appear. Click the Delete button to confirm and proceed with the deletion.
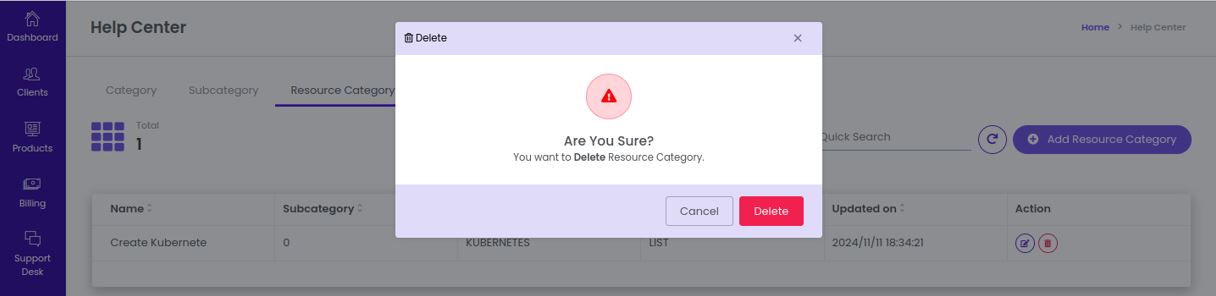
- A confirmation message will appear, such as "Selected Resource Category deleted successfully."
Help Center Resource Subcategory
The Help Center Resource Subcategory is used to organize resources within a broader Resource Category in the Help Center. Subcategories allow administrators to further structure and classify resources into smaller, specific groups, making it easier for users to navigate and find the information they need efficiently.
1. Navigation to Help center :
-
Login into Admin portal.
-
Click on the Help icon from the portal menu.
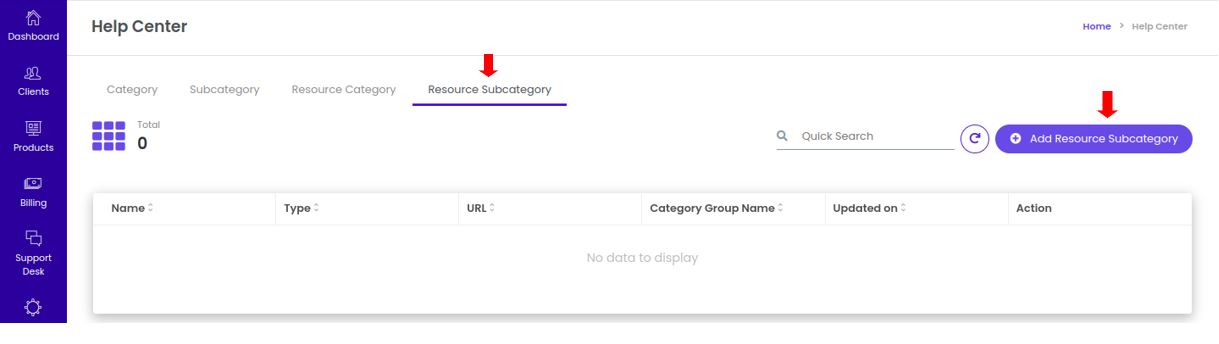
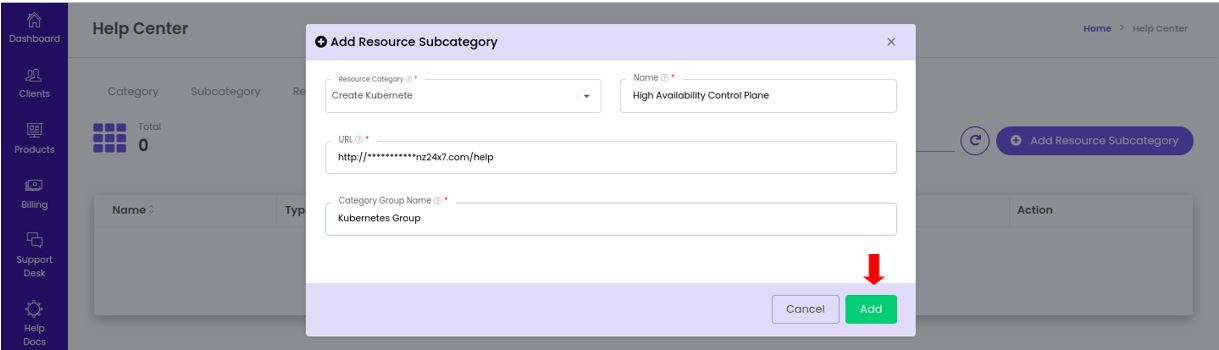
2. Adding Resource Subcategory section :
- Click the Add Resource Subcategory button after selecting the Resource Subcategory tab.
-
From the dropdown menu, select the Resource Category under which this subcategory will belong.
-
Enter a descriptive name for the subcategory that clearly identifies the type of resources it contains. Example: "Setup," "Troubleshooting," or "Advanced Features."
-
Provide a URL for the subcategory. This URL is where users will be redirected when they select this subcategory in the Help Center.
-
Enter the group name that the subcategory belongs to, which can help in further classifying or grouping related subcategories together.
3. Save the changes :
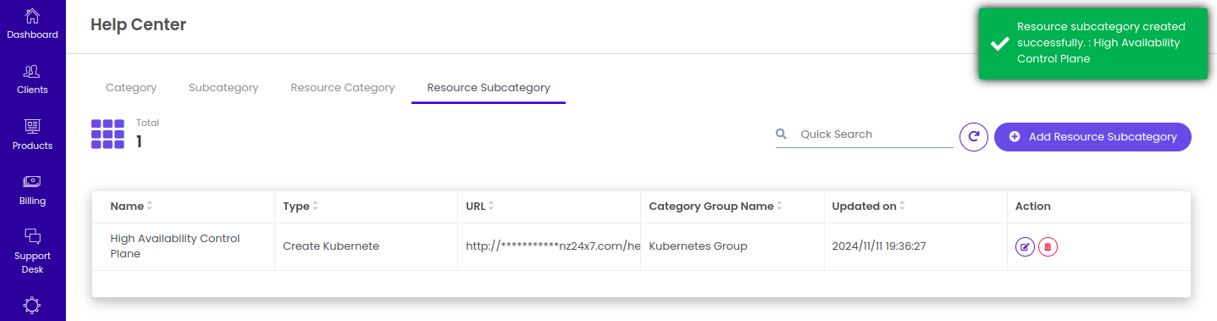
- Click the Add button to save the subcategory.
- A confirmation message will appear, such as "Resource Subcategory created successfully."
4. Edit Help Center Resource Subcategory :
- Navigate to Admin Portal > Help > Resource Subcategory > Select the Resource Subcategory > Action > Edit
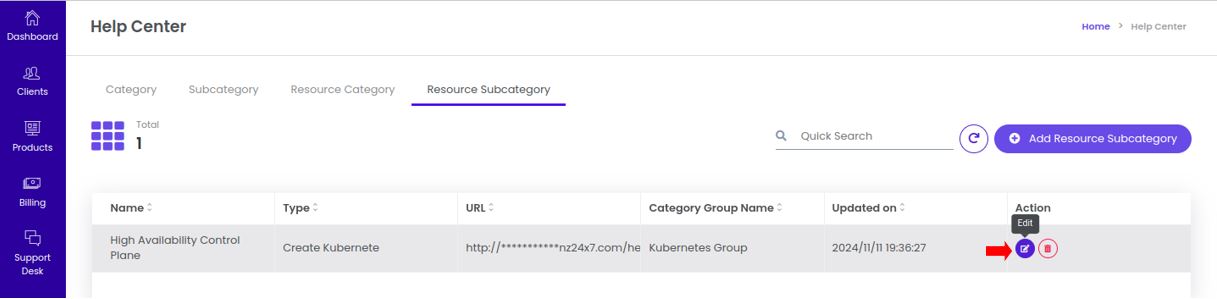
-
Make changes on necessary fields.
-
Click the Update button to apply the edits.
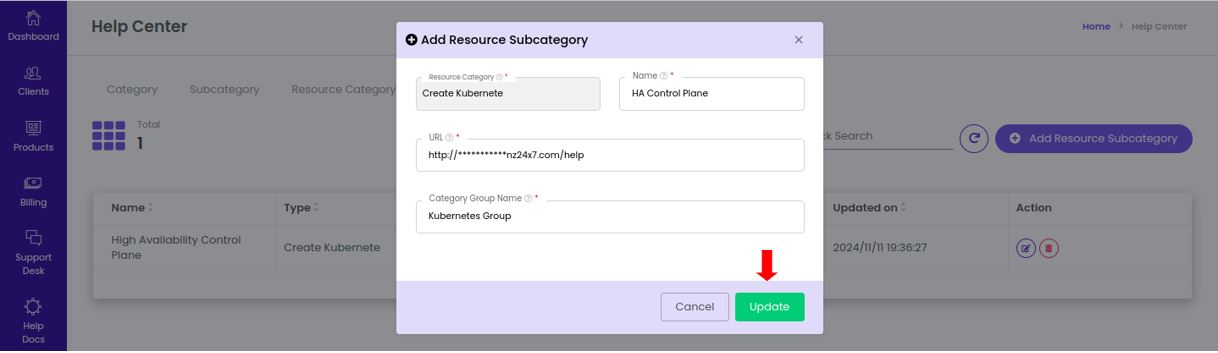
- A confirmation message will appear, such as "Selected Resource Subcategory updated successfully."
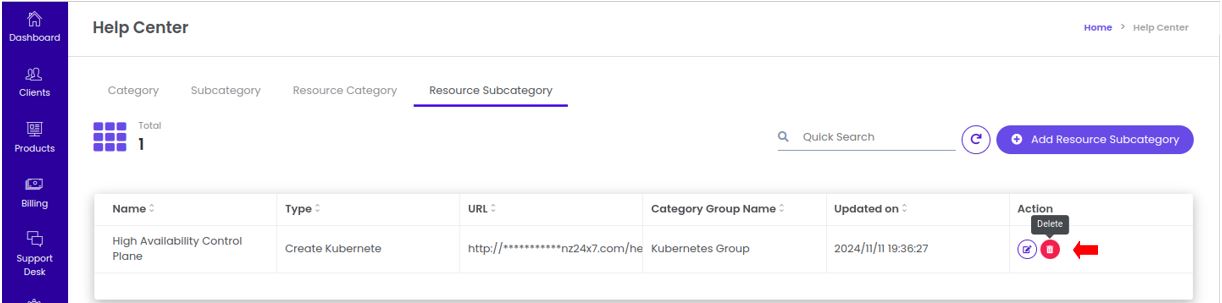
5. Delete Help Center Resource Subcategory :
- Navigate to Admin Portal > Help > Resource Subcategory > Select the Resource Subcategory > Action > Delete
- A confirmation dialog will appear. Click the Delete button to confirm and proceed with the deletion.
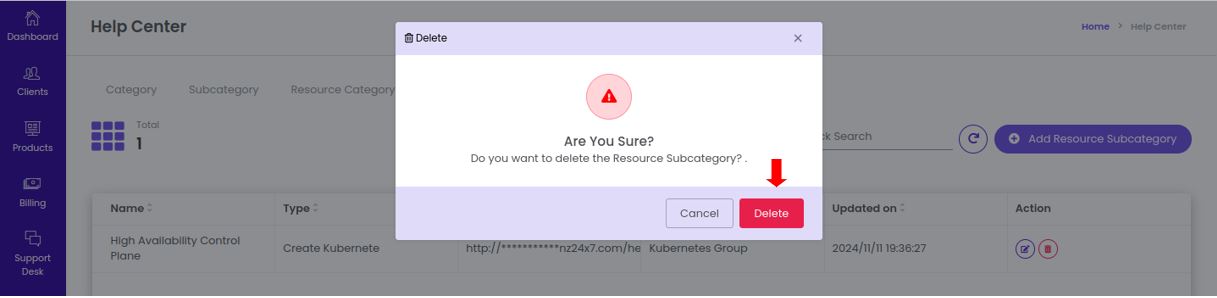
- A confirmation message will appear, such as "Selected Resource Subcategory deleted successfully."