Dedicated Reseller
In this section, we will guide you through the process of adding a dedicated reseller customer to your portal.
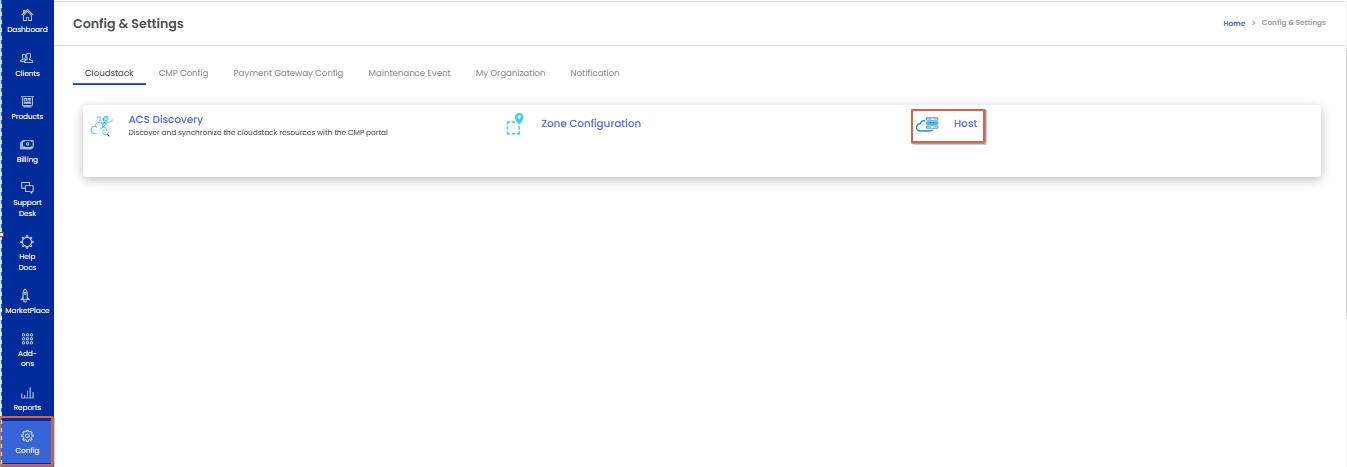
- Login to the admin portal and navigate to the Config menu. From there, click on the Host option to access the host configuration settings.
- Once inside the Host menu, locate and select the desired host that you want to assign to a domain.
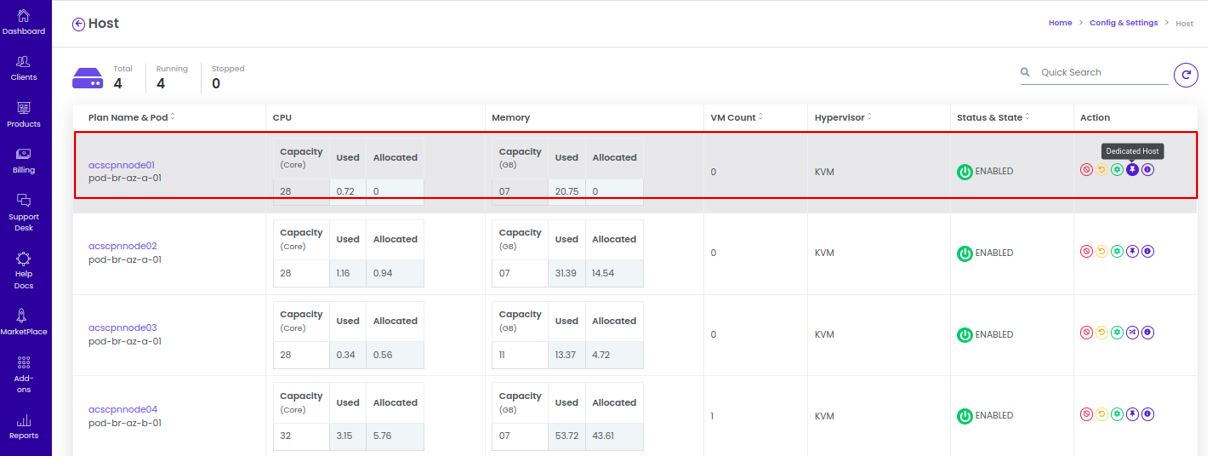
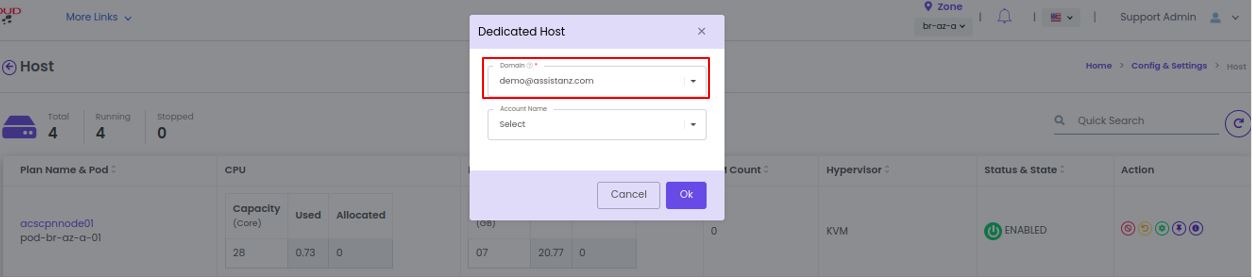
- Click on the Dedicated Host action to begin the assignment process, then select the appropriate Domain from the list and click the Ok button to confirm.
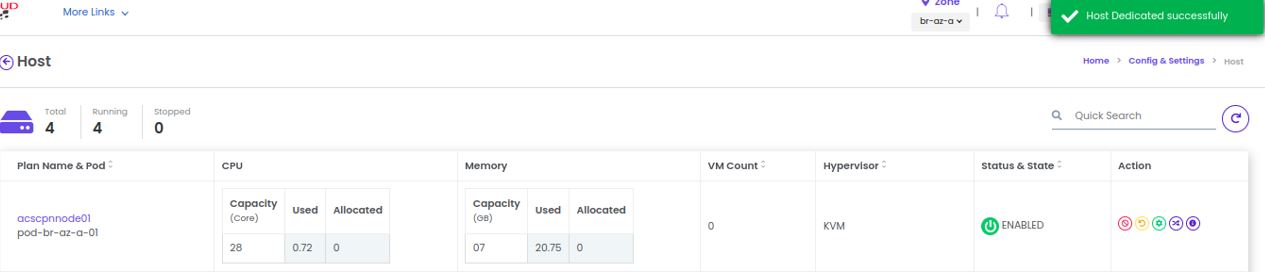
- The portal will then assign the selected host as a dedicated resource for the chosen domain, and you will receive a confirmation message indicating that the Dedicated Host has been successfully assigned."
Creating Dedicated Reseller Plan
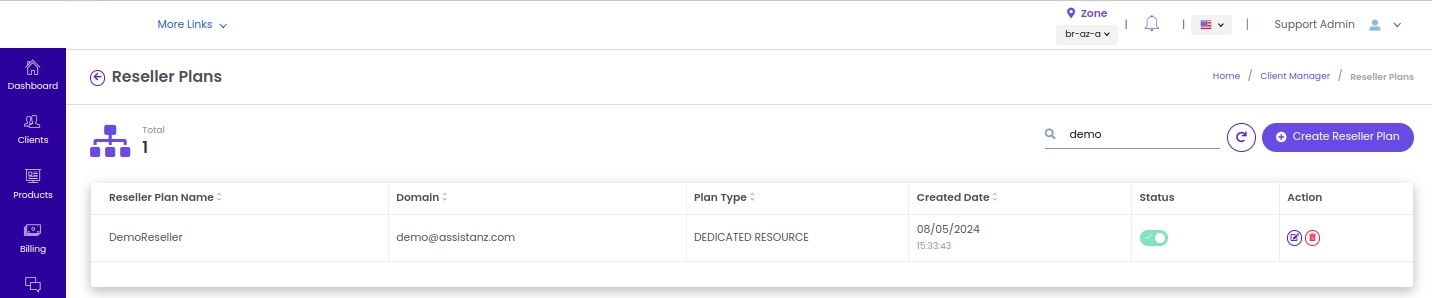
Login to the Stackbill Admin Portal and navigate to the Clients menu. From there, proceed to Reseller Plans and select the Create Reseller Plan option to begin setting up a new reseller plan.
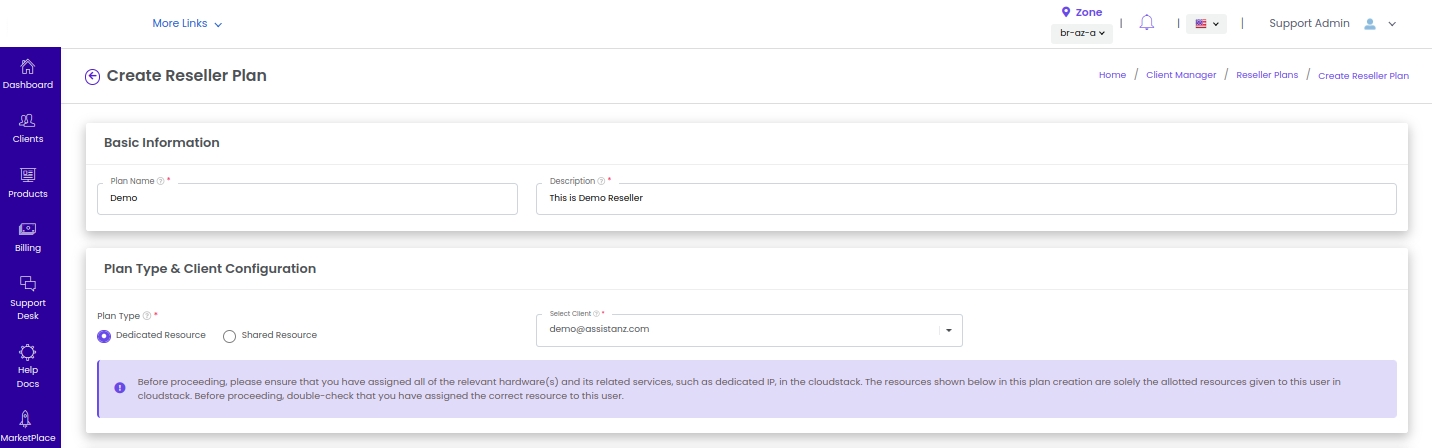
• In the Create Reseller Plan section, you'll need to provide several key details:
-
Basic Information: Enter the essential information about the plan, such as the plan name and description.
-
Plan Type: Select whether this is a Dedicated Resource plan or a Shared Resource plan for the reseller.
-
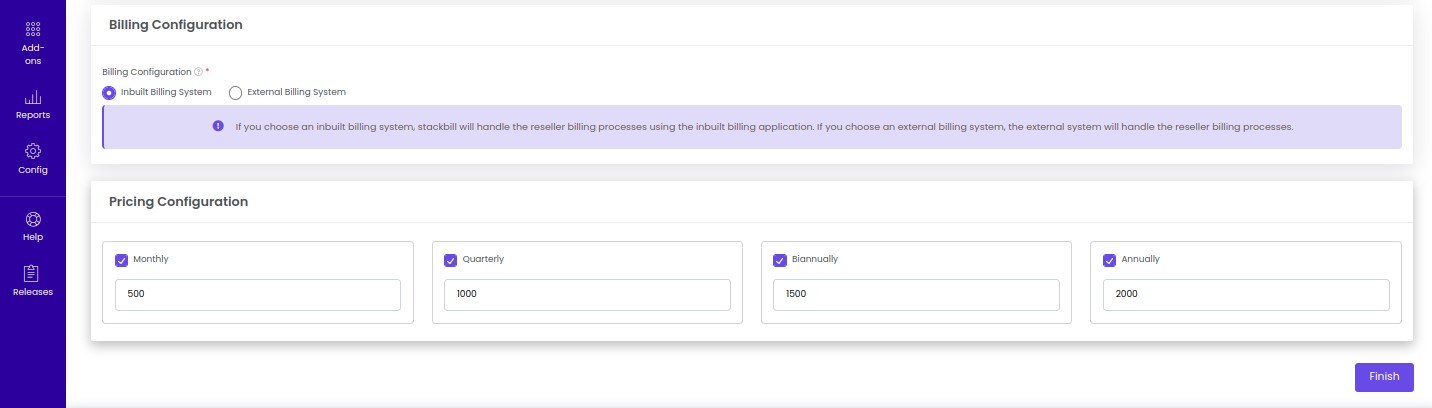
Billing Configuration: There are two configuration options available under billing settings: Inbuilt Billing System and External Billing System. If you choose the Inbuilt Billing System, the portal will manage all billing for the reseller account. Alternatively, if you opt for the External Billing System, the billing process will be managed by an external billing application.
-
Pricing Configuration: Define the pricing for the reseller plan for monthly, Quarterly, Bi-Annually, annually,
• Once all the required fields have been filled out, click the Finish button to complete the process.
Reseller Conversion
To convert a client account to a reseller account in Stackbill, follow these steps:
-
Navigate to the Client Section:
- First, log in to the admin portal.
- From the main dashboard, go to Clients > Create & Manage User Accounts.
- Select the domain that you want to convert to a reseller account.
-
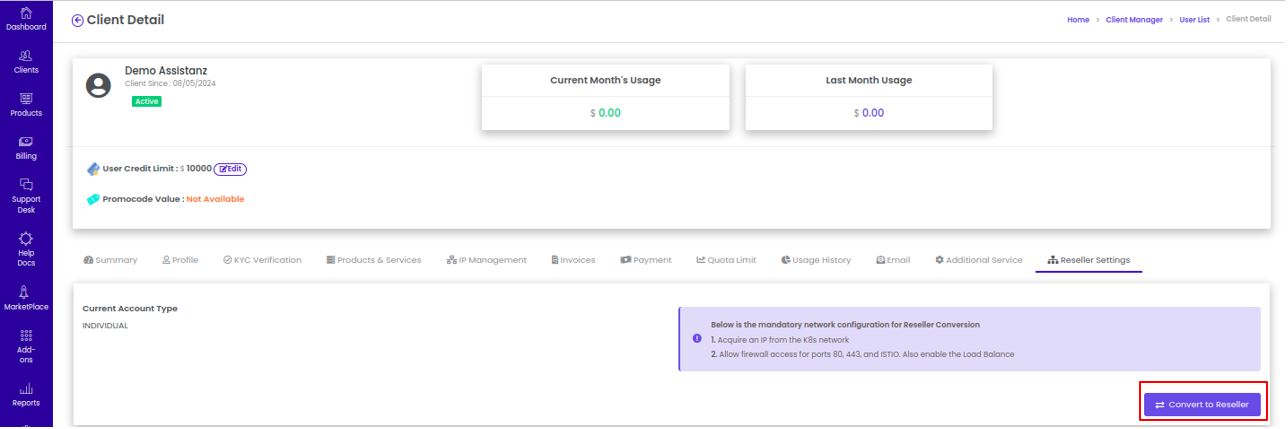
Access Reseller Settings:
- Once you're in the user account details, locate the Reseller Settings option.
- Click the Convert to Reseller button. This will initiate the reseller conversion process for the selected domain.
-
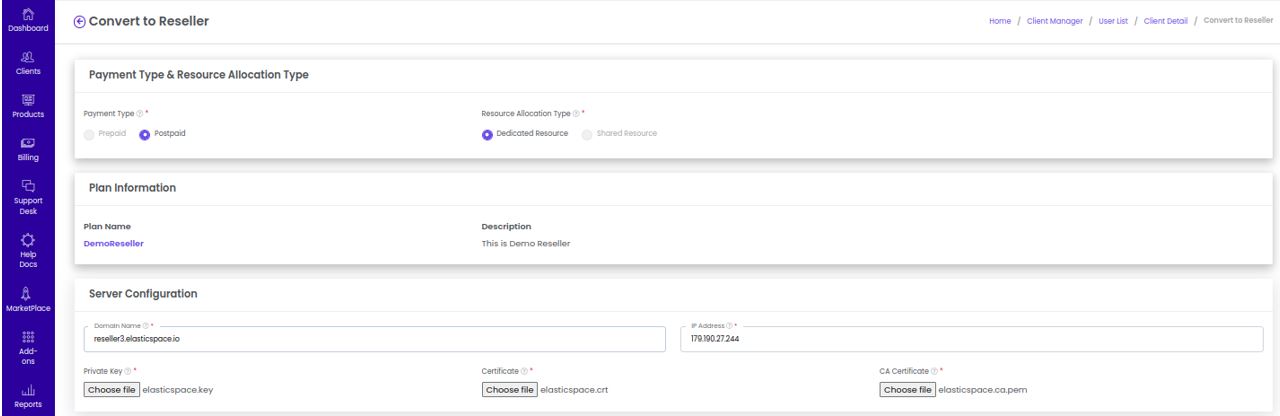
Configure Server and Pricing:
- You will now need to enter the server configuration details required for the reseller setup. This may include setting up hosting parameters, server resources, or specific configurations for the client.
- Attach the necessary key and certificate to authenticate the setup.
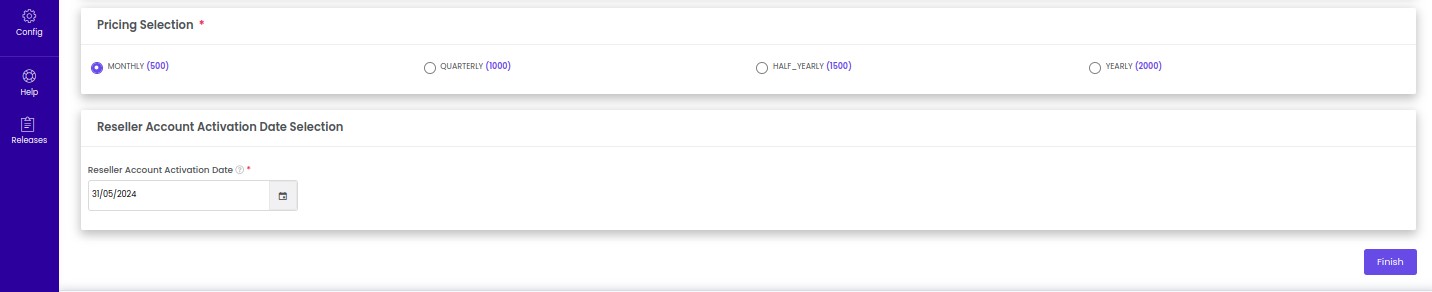
- Select the appropriate pricing model for the reseller. This may include choosing the cost structure for services the reseller will offer to their customers.
-
Select Activation Date:
- Choose the Reseller Account Activation Date. This is the date when the reseller account will officially go live and become active in the portal.
- Once all these fields are completed, click the Finish button to finalize the conversion process.
-
Complete the Conversion:
- After clicking Finish, the system will complete the process and convert the client into a reseller.
- You will receive a confirmation that the conversion to a reseller account is successful.

-
Verify Instance Creation:
- Log in to the user portal under the newly created reseller domain.
- Create an instance (such as a virtual machine or service offering) to verify that it is being deployed under the dedicated host assigned to the reseller.
-
Apply the Same Process for Pod, Zone, or Cluster:
- This same conversion process can be followed to set up dedicated resources, such as Pods, Zones, or Clusters, for the reseller. Simply follow the same steps and assign the appropriate dedicated resources to the reseller.